
Nikon D5000: A Comprehensive User Guide (Updated 12/21/2025)
Welcome! This guide assists you in mastering your newly acquired Nikon D5000, offering instructions to understand and successfully operate its features and capabilities.
Today’s date is 12/21/2025 20:59:14 ().
Congratulations on choosing the Nikon D5000, a versatile Digital Single-Lens Reflex (DSLR) camera designed for both beginners and enthusiasts. This user guide, updated on December 21, 2025, serves as your comprehensive companion to unlock the full potential of your new camera.
Whether you’re a first-time DSLR user or transitioning from another system, this manual will provide clear, step-by-step instructions. We aim to help you understand every function, from basic operation to advanced photographic techniques. The D5000 offers a fantastic blend of image quality, creative control, and user-friendliness.
This guide draws upon information available as of today, 12/21/2025 20:59:14, and is designed to help you navigate the camera’s features effectively. Benvenuto and enjoy your photographic journey!
Key Features and Specifications
The Nikon D5000 boasts a 12.3-megapixel DX-format CMOS sensor, delivering exceptional image detail and clarity. It features an impressive ISO range of 100-3200, expandable to 6400, for excellent low-light performance. Capture stunning visuals with its 2.7-inch LCD screen, perfect for reviewing photos and navigating menus.
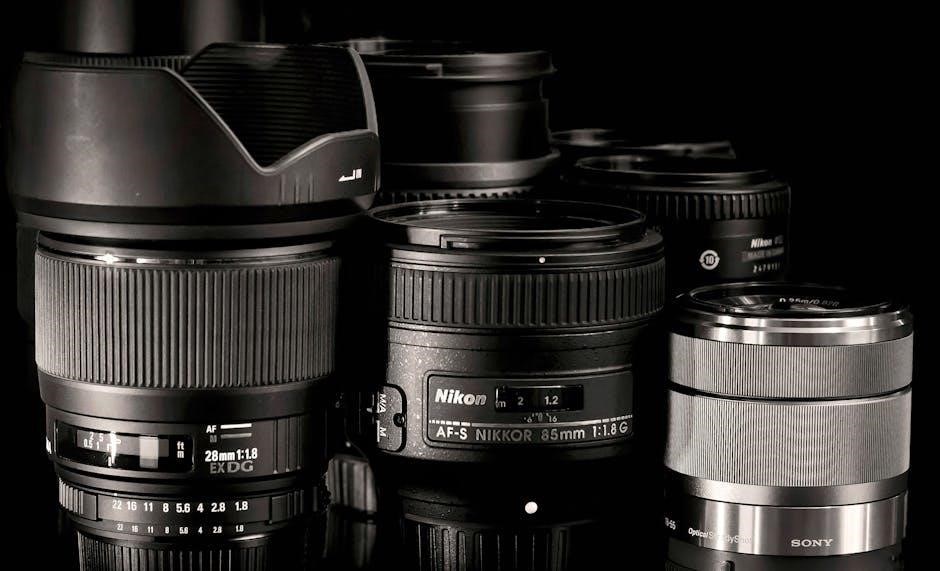
Key features include 11-point autofocus system for sharp images, 3 frames per second continuous shooting, and HD video recording capabilities. The D5000 is compatible with Nikon’s extensive range of DX-format lenses. Its lightweight and ergonomic design ensures comfortable handling. As of 12/21/2025, this camera remains a popular choice for aspiring photographers.
Ciao! Explore the power and versatility of the D5000 with this comprehensive guide.
Getting Started with Your D5000
Begin your photographic journey! This section guides you through the initial steps of unboxing, setup, and preparing your Nikon D5000 for use.
Unboxing and Initial Setup
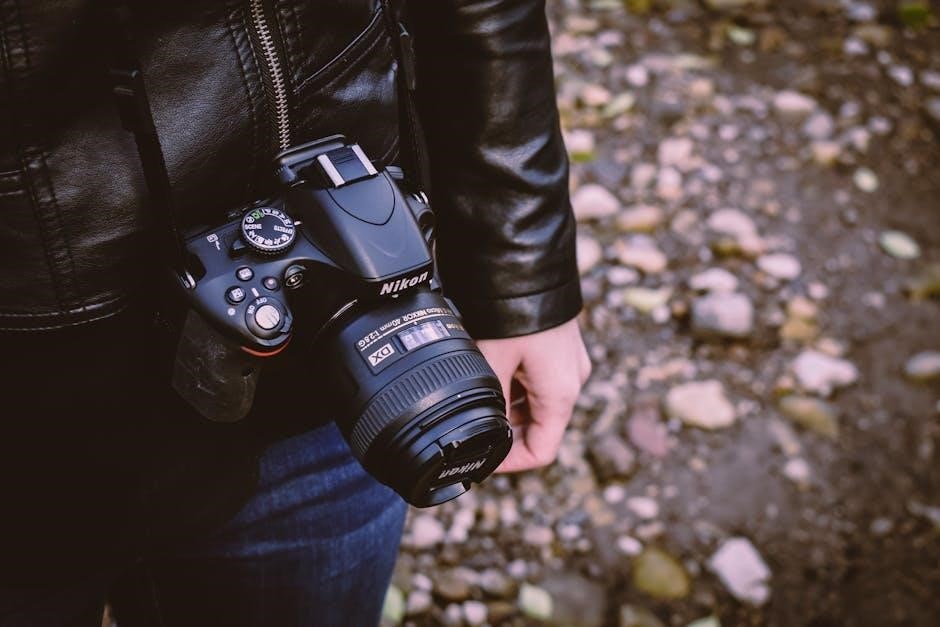
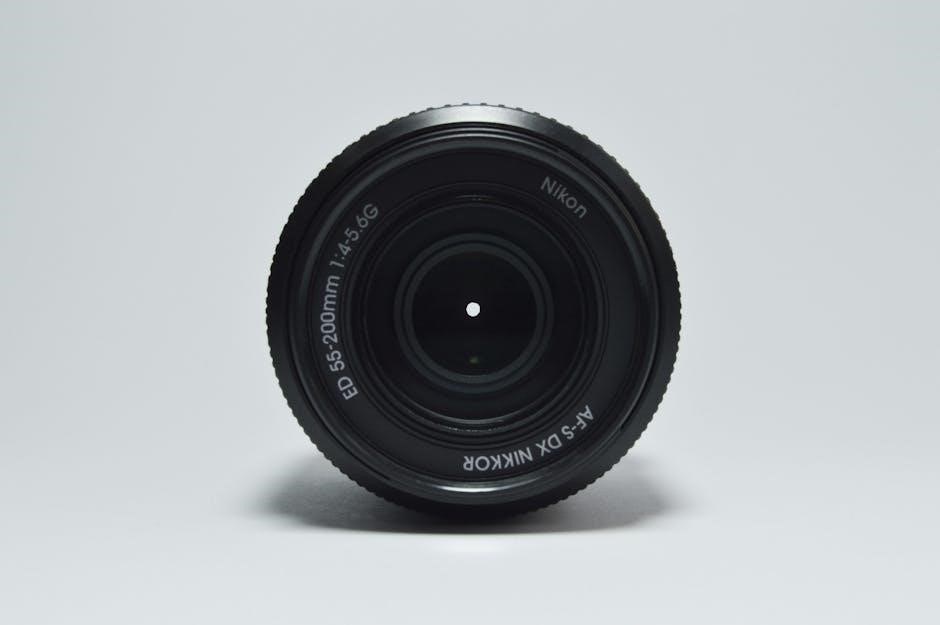
Welcome to the Nikon D5000 experience! Carefully unpack your camera and verify all included components: the D5000 body, kit lens (typically 18-55mm), battery, battery charger, USB cable, audio/video cable, and this comprehensive user manual.
Before first use, attach the lens by aligning the mounting marks and gently rotating clockwise until it clicks. Insert the battery into the battery compartment, ensuring correct polarity. Connect the battery charger to a power outlet and fully charge the battery – this may take several hours.
Finally, insert a compatible SD memory card (sold separately) into the memory card slot. Power on the camera and follow the on-screen prompts to set the language, date, and time. You are now ready to begin exploring the world of digital photography!
Battery and Charger Information
Powering Your Nikon D5000: The D5000 utilizes a rechargeable Li-ion battery (EN-EL9a). Always use the supplied MH-29 charger for optimal charging and battery life. A full charge typically takes approximately 3 hours, indicated by the charger’s light changing from blinking to solid.
Avoid exposing the battery to extreme temperatures or moisture. Do not disassemble or modify the battery. To maximize battery life, store the camera with the battery removed when not in use for extended periods.
The battery indicator in the camera’s viewfinder displays remaining charge. Low battery warnings appear on screen, prompting you to charge or replace the battery. Using Live View mode significantly reduces battery life.
Inserting Memory Cards
Compatible Cards: The Nikon D5000 supports SD and SDHC memory cards. Ensure the card is formatted correctly before use – the camera can format cards via the setup menu. Locate the memory card slot on the camera’s side, typically covered by a protective door.
Gently insert the card into the slot, label side up, until it clicks into place. Do not force the card! To remove the card, lightly press it inwards; it will then spring partially out for easy removal.
Avoid touching the metal contacts on the card. Regularly back up your images to a computer or external storage device to prevent data loss. Always eject the card safely through the camera’s menu before removing it.

Understanding the Camera Controls
Familiarize yourself with the D5000’s buttons, dials, and menus for efficient operation. Mastering these controls unlocks the camera’s full potential for stunning imagery.
Front and Rear Panel Overview
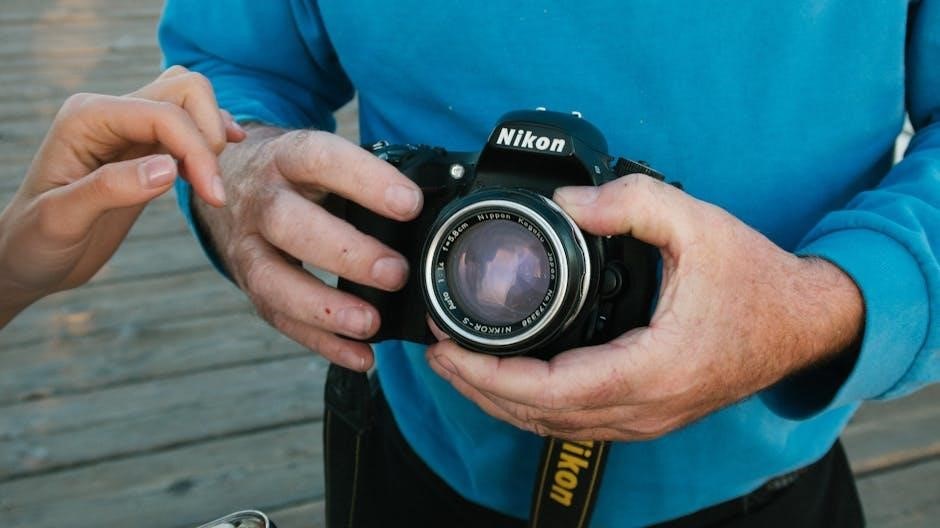
Let’s explore the D5000’s physical controls. The front panel houses the lens release button, self-timer/mirror-up button, and the function button – customizable for quick access to settings.
Turning to the rear, you’ll find the viewfinder, LCD screen, directional pad with central OK button, and dedicated buttons for menu access, image playback, and info display.
Notably, the D5000 features a mode dial on top for selecting shooting modes, and a control dial near the shutter button for adjusting settings like aperture and shutter speed. Understanding the location and function of each button and dial is crucial for seamless operation and creative control over your photography.
This layout promotes intuitive handling and efficient workflow.
Mode Dial Explained
The Nikon D5000’s mode dial is your gateway to different shooting experiences. Auto mode simplifies operation for beginners, while Scene modes offer pre-defined settings for landscapes, portraits, and more.
For greater control, Program Auto (P) allows the camera to set aperture and shutter speed, but you can adjust other settings. Aperture Priority (A) lets you control depth of field, and Shutter Priority (S) governs motion blur.
Finally, Manual (M) mode grants full creative control over both aperture and shutter speed. The dial also includes settings for Flash Off, and effects mode. Familiarizing yourself with each mode unlocks the D5000’s full potential.
Experiment to discover what works best for your photographic vision!
Menu System Navigation
Navigating the Nikon D5000’s menu system is crucial for customizing your camera. Accessed via the ‘Menu’ button, the menus are organized into several tabs represented by colored icons: playback, shooting, custom settings, and setup.
Use the directional pad to highlight menu options and the ‘OK’ button to select. The ‘i’ button provides quick access to frequently used settings.
Custom Settings allow you to personalize camera functions to your preferences. The Setup menu handles general settings like date, time, and language.
Take time to explore each menu tab to fully understand and tailor the D5000 to your shooting style.
Shooting Modes Explained
The Nikon D5000 offers diverse shooting modes, ranging from fully automatic options for beginners to manual controls for experienced photographers seeking creative flexibility.
Auto Mode and Scene Modes
Auto Mode simplifies photography, letting the camera handle all settings for optimal results in various conditions. It’s perfect for quick snapshots and beginners. Scene Modes, however, offer pre-configured settings tailored to specific shooting scenarios.

These include Portrait (for blurred backgrounds), Landscape (for sharp detail across the frame), Sports (for freezing action), Night Portrait, Macro (for close-up shots), and more. Selecting the appropriate Scene Mode ensures the camera prioritizes settings ideal for that particular subject or environment.
The manual guides users to understand how each mode affects the final image, encouraging experimentation and learning. Utilizing Scene Modes allows for excellent images without needing extensive technical knowledge, making the D5000 accessible to all skill levels.
Program Auto (P) Mode
Program Auto (P) Mode offers a balance between automatic operation and creative control. The camera sets both aperture and shutter speed, but allows the photographer to adjust other settings like ISO, white balance, and exposure compensation.
This mode is ideal for situations where you want the convenience of automatic settings, but still desire some influence over the final image. It’s a step up from fully automatic modes, providing more flexibility without the complexity of manual settings.
The manual emphasizes that P mode is excellent for general photography, offering a good starting point for learning about exposure. Users can experiment with exposure compensation to brighten or darken images, gaining a better understanding of photographic principles.
Aperture Priority (A) Mode
Aperture Priority (A) Mode empowers you to control the depth of field, while the camera automatically selects the appropriate shutter speed for correct exposure. This is crucial for creatively blurring backgrounds (bokeh) or ensuring sharpness throughout the scene.
Lower f-numbers (like f/2.8) create shallow depth of field, ideal for portraits, isolating the subject. Higher f-numbers (like f/16) yield greater depth of field, perfect for landscapes where everything needs to be in focus.
The manual highlights that understanding aperture is key to artistic expression. Experimenting with different f-stops allows photographers to control how much of the image is sharp, influencing the overall look and feel.
Shutter Priority (S) Mode
Shutter Priority (S) Mode grants you control over the shutter speed, dictating how long the camera’s sensor is exposed to light. The camera then automatically adjusts the aperture to achieve proper exposure. This mode is invaluable for capturing motion – either freezing it or blurring it intentionally.
Fast shutter speeds (like 1/1000s) freeze action, perfect for sports or wildlife photography. Slower shutter speeds (like 1/30s) create motion blur, ideal for conveying a sense of movement, such as flowing water.
The manual emphasizes that mastering shutter speed is vital for dynamic photography. Experimentation is encouraged to understand its impact on image clarity and artistic effect.
Manual (M) Mode
Manual (M) Mode provides complete creative control, allowing you to independently set both aperture and shutter speed. This mode demands a thorough understanding of the exposure triangle – the interplay between aperture, shutter speed, and ISO. It’s the preferred choice for experienced photographers seeking precise control over their images.
The manual highlights that in M mode, the camera offers no assistance with exposure. You’ll rely on the built-in light meter to guide your settings, adjusting them until the meter indicates proper exposure.
Mastering Manual mode unlocks your full photographic potential, enabling you to realize your artistic vision with unparalleled precision and consistency.
Focusing and Exposure
Achieve sharp, well-exposed images! Explore autofocus options, exposure compensation techniques, metering modes, and white balance settings for optimal results.
Autofocus Modes and Points
Understanding Autofocus is key to capturing sharp images. The Nikon D5000 offers several autofocus (AF) modes tailored to different shooting scenarios. Single-servo AF (AF-S) is ideal for stationary subjects, focusing once when the shutter button is half-pressed. Continuous-servo AF (AF-C) tracks moving subjects, continuously adjusting focus. Auto-servo AF (AF-A) automatically switches between AF-S and AF-C.
The D5000 features 11 autofocus points, providing flexibility in selecting where the camera focuses. You can choose a single AF point for precise control, or allow the camera to automatically select a point using auto-area AF. Dynamic-area AF lets you select an AF point and the camera will also consider surrounding points if the subject moves. Experiment with these modes to find what works best for your subjects and shooting style!
Exposure Compensation
Exposure compensation allows you to fine-tune the brightness of your images, overriding the camera’s automatic metering system. Sometimes, the camera might underexpose (make the image too dark) or overexpose (make it too bright). This feature gives you control!
The Nikon D5000’s exposure compensation scale is typically marked in stops (+/- EV). Positive values (+1, +2, etc.) brighten the image, while negative values (-1, -2, etc.) darken it. Use this when shooting scenes with strong backlighting or predominantly white or black subjects. Adjust in small increments and review your results on the LCD screen to achieve the desired exposure. Mastering exposure compensation is crucial for consistent, well-exposed photographs;
Metering Modes
Metering modes determine how the Nikon D5000 measures light to calculate the correct exposure. Understanding these modes is vital for accurate results in various shooting situations. The D5000 offers three primary metering modes:
Matrix metering evaluates the entire scene, providing a balanced exposure suitable for most everyday scenarios. Center-weighted metering prioritizes the center of the frame, useful for portraits or subjects in the middle. Spot metering measures light from a very small area, ideal for challenging lighting or when you need precise exposure on a specific subject. Experiment with each mode to see how they affect your images and choose the one best suited for the scene.
White Balance Settings
White balance (WB) ensures accurate color rendition in your photos, compensating for different lighting conditions. The Nikon D5000 provides several preset WB options, including Auto, Incandescent, Fluorescent, Direct Sunlight, Cloudy, and Shade.
Auto WB generally performs well, but can sometimes be inaccurate. For precise control, use the preset modes or Custom WB, allowing you to manually set the color temperature. Incorrect WB results in color casts – images appearing too warm (yellowish) or cool (bluish). Mastering WB settings is crucial for achieving natural-looking colors in your photographs, especially in challenging lighting environments.
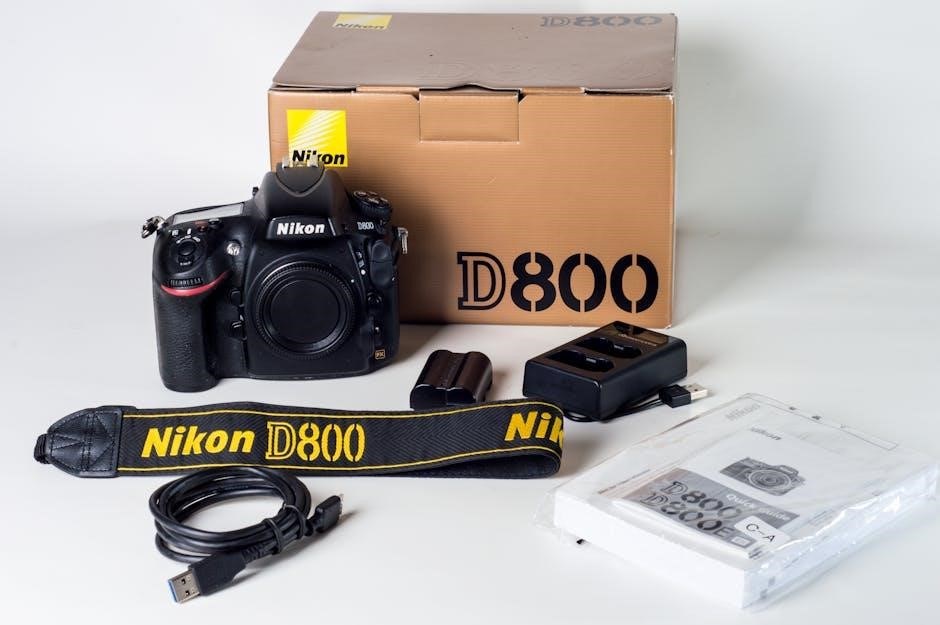
Image Quality and Settings
Optimize your images! Explore settings for size, quality, ISO sensitivity, and Picture Control to tailor your D5000’s output to your needs.
Image Size and Quality Options
Choosing the right settings is crucial. The Nikon D5000 offers a variety of image size and quality options, impacting file size and detail retention. Larger sizes, like Large, provide more detail for cropping and printing, while smaller sizes, such as Small, are suitable for web use or email sharing.
Quality settings determine the level of JPEG compression. “Fine” offers the highest quality with minimal compression, resulting in larger files. “Normal” provides a balance between quality and file size, and “Basic” offers the most compression, yielding the smallest files but with some loss of detail.
RAW format is also available, capturing all image data for maximum editing flexibility. Experiment to find the optimal balance for your shooting needs and storage capacity!
ISO Sensitivity
ISO controls your camera’s sensitivity to light. Lower ISO settings (like 100 or 200) are ideal for bright conditions, producing cleaner images with less noise. As light decreases, increasing the ISO (e.g., 400, 800, 1600, or higher) allows for faster shutter speeds to prevent blur.
However, higher ISOs introduce more digital noise, appearing as graininess in your images. The Nikon D5000 performs well at moderate ISOs, but be mindful of noise levels when shooting at higher settings.
Auto ISO is a convenient option, letting the camera automatically adjust ISO based on lighting conditions. Experiment to determine the highest usable ISO for your needs!
Picture Control Settings
Picture Control settings allow you to customize the look of your images directly within the camera. The Nikon D5000 offers presets like Standard, Neutral, Vivid, and Monochrome, each affecting color, contrast, and sharpness.
Standard is a versatile all-purpose setting. Neutral provides a flatter profile, ideal for post-processing. Vivid boosts saturation for eye-catching colors. Monochrome creates black and white images.
You can also create and save custom Picture Controls, fine-tuning parameters like sharpness, contrast, brightness, saturation, and hue to achieve your desired aesthetic. Experiment with these settings to develop your unique photographic style!
Advanced Features
Explore beyond the basics! Discover the Nikon D5000’s capabilities, including Live View shooting, movie recording, and effective utilization of the built-in flash.
Live View Shooting
Utilizing Live View on your Nikon D5000 allows composing and reviewing images directly on the LCD screen, offering a different shooting experience. To activate it, simply switch to Live View mode using the dedicated button on the rear panel.
This mode is particularly useful for precise composition, macro photography, and shooting from awkward angles where using the viewfinder is difficult. Remember that prolonged Live View usage can impact battery life and potentially cause the camera to warm up.
Explore the various display options within Live View, including grid lines, virtual horizon, and focus peaking (if available), to enhance your shooting precision. Experiment with different autofocus modes within Live View for optimal results.
Movie Recording
The Nikon D5000 offers movie recording capabilities, allowing you to capture video in standard definition. Access movie mode by rotating the mode dial to the movie camera icon. Before recording, ensure a compatible SD card is inserted with sufficient free space.
Press the shutter button to start and stop recording. Be mindful of the recording time limit per clip, as the D5000 has a maximum recording duration. Utilize the zoom function during recording for creative effects, but note that audio is recorded via the built-in microphone.
Experiment with different settings to achieve desired results, and remember to review your footage on a larger screen for optimal assessment.
Using Built-in Flash
The Nikon D5000’s built-in flash is a versatile tool for illuminating subjects in low-light conditions. To activate it, press the flash button on the camera’s back until the flash icon appears in the viewfinder. Several flash modes are available, including Auto, Auto with Red-Eye Reduction, Fill-Flash, and Manual.
Auto mode lets the camera decide when to fire the flash, while Fill-Flash provides extra light even in bright conditions. Red-Eye Reduction helps minimize the red-eye effect in portraits. Experiment with these modes to find what works best for your scene.
Remember that the flash range is limited, and excessive flash can wash out colors.
Troubleshooting Common Issues
Encountering problems? This section provides solutions for error messages, connectivity issues, and image transfer difficulties, alongside cleaning and maintenance guidance.
Error Messages and Solutions
Decoding Camera Alerts: Your Nikon D5000 utilizes error messages to communicate potential issues. Common errors include “Memory card is full” – requiring card replacement or image deletion. “Card lock is on” necessitates switching the card lock to the unlocked position.
Lens Errors: Messages like “Lens not attached” or “Lens error” indicate connection problems; reattach the lens securely. If the issue persists, inspect the lens contacts for damage. Battery Concerns: “Battery is exhausted” prompts immediate charging; A blinking battery icon suggests low power.
General Troubleshooting: If an unfamiliar error appears, consult the detailed error message index within the full D5000 manual for specific solutions and potential causes. Resetting the camera to factory defaults can sometimes resolve persistent, unexplained errors.
Connectivity and Transferring Images
Connecting to Your Computer: The Nikon D5000 utilizes a USB connection for image transfer. Ensure the camera is powered off before connecting. Your computer should recognize the D5000 as a removable drive, allowing drag-and-drop file transfer.
Software Options: Nikon provides software like Nikon Transfer 2 for streamlined image downloading and organization. Alternatively, utilize your operating system’s photo import function. HDMI Output: Connect to a compatible HDTV via HDMI for slideshow viewing.
Wireless Transfer (with optional adapter): While the D5000 doesn’t have built-in Wi-Fi, an optional wireless transmitter enables wireless image transfer to smartphones or computers. Refer to the adapter’s manual for setup instructions.
Cleaning and Maintenance
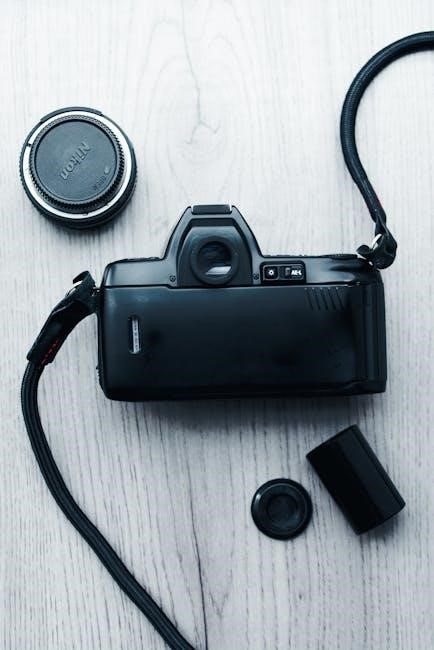
Sensor Cleaning: Dust on the sensor can appear as spots in your images. Use a blower to remove loose particles. For stubborn dust, utilize the sensor cleaning function (refer to the manual for detailed steps) or professional cleaning.
Exterior Cleaning: Gently wipe the camera body with a soft, dry cloth. Avoid harsh chemicals or abrasive cleaners. For stubborn smudges, slightly dampen the cloth with water. Lens Care: Use a lens brush and microfiber cloth to clean the lens surface.
Storage: Store the camera in a dry, dust-free environment. Remove the battery for prolonged storage to prevent corrosion. Regularly inspect the battery contacts for cleanliness.